Your Guide to Replacing the Inner Trim of a Pneumatic Sleeve Control Valve
When your industrial process starts experiencing inconsistent flow control, pressure fluctuations, or complete valve failure, the problem often lies within the inner trim of your Pneumatic Sleeve Control Valve. These critical moments can halt production, cost thousands in downtime, and compromise safety protocols. Understanding how to properly replace the inner trim components becomes essential for maintaining operational excellence and preventing catastrophic system failures that could impact your entire facility.
Understanding the Pneumatic Sleeve Control Valve Trim Components
The inner trim of a Pneumatic Sleeve Control Valve represents the heart of the valve's functionality, encompassing all wetted components that directly control fluid flow. The internal parts of the valve body, valve stem, valve seat, packing set, valve plug, gasket, etc. are collectively referred to as valve trim. These components work in precise harmony to regulate pressure, flow rate, and system stability across various industrial applications. The Pneumatic Sleeve Control Valve trim consists of several critical elements that require careful attention during replacement procedures. The valve core, manufactured from high-grade stainless steel materials like 304, 316, or 316L, provides exceptional corrosion resistance and maintains dimensional stability under extreme operating conditions. The sleeve component, typically constructed from similar stainless steel grades, creates the precise flow path that determines the valve's characteristic curve and control performance. Within the trim assembly, the valve seat represents another crucial component that directly impacts sealing performance and flow characteristics. Modern Pneumatic Sleeve Control Valve designs incorporate both metal and non-metallic seat options, with metal seats complying with ANSI B16.104 Level IV standards and non-metallic seats meeting ANSI B16.104 Class VI requirements for superior leakage control.
-
Valve Core and Sleeve Interface Design

The interaction between the valve core and sleeve in a Pneumatic Sleeve Control Valve creates the fundamental control mechanism that regulates fluid flow. When the pneumatic actuator receives control signals, it precisely positions the valve core within the sleeve, creating variable flow areas that correspond to the desired flow coefficient. This design provides excellent rangeability, typically achieving 50:1 or higher turndown ratios depending on the specific trim configuration. The pressure-balanced valve core design incorporated in modern Pneumatic Sleeve Control Valve systems reduces actuator thrust requirements while improving control stability. This configuration eliminates the impact of upstream pressure variations on valve positioning, ensuring consistent control performance across varying system conditions. The balanced design also extends actuator life by reducing mechanical stress on the pneumatic diaphragm and spring assembly.
-
Packing and Sealing System Components
The packing system within a Pneumatic Sleeve Control Valve trim assembly provides critical environmental isolation while allowing smooth stem movement. PTFE V-shaped packing arrangements offer superior sealing performance with minimal friction, supporting operating temperatures from -17°C to +230°C. The packing configuration typically includes multiple rings arranged in a specific sequence to optimize both sealing effectiveness and stem lubrication. Advanced packing systems may incorporate PTFE asbestos combinations or flexible graphite materials for high-temperature applications exceeding standard PTFE limitations. These specialized packing materials maintain sealing integrity while accommodating thermal expansion and contraction cycles that occur during normal operation.
Pre-Replacement Safety Assessment and System Preparation
Before initiating any trim replacement procedures on your Pneumatic Sleeve Control Valve, conducting a comprehensive safety assessment becomes paramount to prevent accidents and ensure worker protection. Remove all electrical and pneumatic connections to the control valve. This includes disconnecting instrument air supply lines, control signal cables, and any auxiliary equipment connections that might energize the system during maintenance activities. Process isolation represents the most critical safety step in Pneumatic Sleeve Control Valve maintenance procedures. Install proper lockout/tagout devices on all upstream and downstream isolation valves, ensuring that pressurized fluid cannot enter the work area. Verify zero energy state through pressure testing using calibrated gauges, and maintain documentation of all isolation procedures for safety compliance and audit requirements. Environmental hazard assessment must address potential exposure to process fluids, including toxic, corrosive, or flammable substances that may remain within the valve body or associated piping. Implement appropriate personal protective equipment protocols, ventilation systems, and emergency response procedures based on the specific process chemicals and their material safety data sheet requirements.
-
Tools and Equipment Requirements
Successful Pneumatic Sleeve Control Valve trim replacement requires specialized tools designed for precision work in industrial environments. Standard tool requirements include calibrated torque wrenches capable of applying specified bolt tensions, valve body lifting equipment rated for the valve weight, and precision measurement instruments for dimensional verification during assembly. Specialized tools may include valve plug removal fixtures, seat lapping equipment, and trim alignment guides specific to the valve manufacturer's design. High-pressure applications may require hydraulic tensioning equipment for large diameter bolts, while critical service applications benefit from ultrasonic bolt tension monitoring systems to ensure proper assembly preload. Quality measurement equipment becomes essential for verifying trim component condition and replacement part specifications. This includes micrometers for dimensional verification, surface roughness gauges for seat condition assessment, and hardness testers for material verification on critical components.
-
Documentation and Traceability Preparation
Comprehensive documentation procedures ensure proper traceability and regulatory compliance throughout the trim replacement process. Establish material traceability records for all replacement components, including material test certificates, dimensional inspection reports, and manufacturing lot numbers for future reference and warranty claims. Photographic documentation of the disassembly process provides valuable reference information for proper reassembly procedures. Detailed photographs should capture trim component orientation, bolt patterns, packing arrangements, and any unusual conditions discovered during disassembly that might affect future maintenance planning.
Step-by-Step Pneumatic Sleeve Control Valve Trim Replacement Procedure
The systematic approach to replacing Pneumatic Sleeve Control Valve trim components ensures consistent results and minimizes the risk of reassembly errors. Fortunately, replacing the trim in your valve is a simple process. However, precision and attention to detail remain critical throughout each step to maintain valve performance and safety standards. Begin the disassembly process by carefully removing the actuator assembly from the valve body, taking care to support the actuator weight throughout the lifting process. Document the actuator spring adjustment settings before disassembly to facilitate proper reassembly calibration. Remove the bonnet bolts in a cross-pattern sequence to prevent warping of the mating surfaces, and use appropriate lifting equipment to handle heavy bonnet assemblies safely. Access to the inner trim components requires careful removal of the valve bonnet, exposing the internal valve components for inspection and replacement. Examine all trim components for wear patterns, corrosion damage, or dimensional changes that might indicate underlying system problems. Document any abnormal conditions through photographs and detailed written descriptions for future reference and trend analysis.
-
Valve Core and Sleeve Removal Techniques
Removing the valve core from a Pneumatic Sleeve Control Valve requires specific techniques to prevent damage to precision-machined surfaces. Support the valve body in a suitable work fixture that provides access to both ends of the valve while maintaining proper alignment. Use appropriate pullers or hydraulic removal tools sized for the specific valve design, avoiding impact methods that could damage seating surfaces or dimensional tolerances. The sleeve component removal process varies depending on the valve design, with some configurations requiring specialized removal tools to extract tight-fitting sleeves without damage. Inspect sleeve-to-body interface surfaces for galling, corrosion, or mechanical damage that might complicate installation of replacement components. Clean all mating surfaces thoroughly using approved solvents and non-abrasive methods to ensure proper fit of new components. Document the original trim component configuration through detailed measurements and photographs, paying particular attention to component orientation and assembly relationships. This documentation proves invaluable during reassembly and helps identify any design changes in replacement parts that might affect valve performance characteristics.
-
Seat and Sealing Surface Preparation
Proper preparation of seating surfaces in a Pneumatic Sleeve Control Valve directly impacts long-term sealing performance and valve reliability. Inspect all seating surfaces using appropriate magnification to identify surface defects, wear patterns, or contamination that could compromise seal integrity. Minor surface imperfections may be corrected through careful lapping procedures using approved compounds and techniques. Severely damaged seating surfaces may require professional reconditioning or complete replacement of the affected components. Evaluate the cost-effectiveness of reconditioning versus replacement, considering both immediate costs and long-term reliability implications. When reconditioning is selected, ensure that all work meets original manufacturing specifications and dimensional tolerances. The cleaning process for seating surfaces requires specialized techniques to remove all contamination without damaging precision surfaces. Use lint-free cloths and approved cleaning solvents, followed by thorough drying and inspection under proper lighting conditions. Avoid touching cleaned surfaces with bare hands, as skin oils can compromise surface quality and promote corrosion.
Quality Assurance and Performance Verification

Quality assurance throughout the Pneumatic Sleeve Control Valve trim replacement process ensures reliable operation and prevents premature failure of replacement components. For critical processes, you should visually inspect the trim and replace elastomer trim components and metal seats on a yearly basis. This preventive approach reduces unplanned downtime and maintains consistent process control performance. Dimensional verification of all replacement trim components becomes essential before installation to ensure proper fit and function. Compare replacement part dimensions against original equipment specifications, paying particular attention to critical dimensions that affect flow characteristics and sealing performance. Maintain detailed records of all measurements for future reference and warranty documentation. Material verification procedures ensure that replacement components meet original specifications for chemical compatibility, mechanical properties, and environmental resistance. Review material test certificates for all components, verifying compliance with applicable industry standards such as ASTM, ASME, or API requirements specific to the valve application.
-
Assembly Torque and Preload Verification
Proper assembly torque application ensures reliable joint integrity throughout the operating life of the Pneumatic Sleeve Control Valve. Follow manufacturer-specified torque sequences and values, using calibrated torque wrenches verified within the required accuracy range. Apply torque in multiple stages using cross-pattern sequences to ensure uniform stress distribution across all fasteners. For critical high-pressure applications, consider ultrasonic bolt tension monitoring to verify proper preload achievement beyond basic torque measurement. This technology provides direct measurement of bolt stress, accounting for variations in thread friction and surface conditions that can affect torque-to-tension relationships. Document all torque applications with specific values, sequence, and equipment identification numbers for traceability and future maintenance reference. Maintain torque records as part of the valve maintenance history to support reliability analysis and optimization of maintenance intervals.
-
Leak Testing and Performance Validation
Comprehensive leak testing validates the integrity of all sealing surfaces and joint assemblies in the reassembled Pneumatic Sleeve Control Valve. Conduct hydrostatic testing at pressures specified by applicable codes and standards, typically 1.5 times the valve design pressure for standard applications. Use clean water or other approved test media, avoiding fluids that might damage internal components or compromise subsequent operation. Pneumatic testing may be substituted for hydrostatic testing in applications where water contamination presents unacceptable risks. When pneumatic testing is employed, implement additional safety precautions due to the stored energy hazards associated with compressed gas testing. Use appropriate test pressures and follow established safety procedures for pneumatic testing operations. Functional testing verifies proper valve operation across the full stroke range, including response time measurement and characteristic curve verification. Document all test results, comparing performance against original valve specifications and acceptance criteria. Any deviations from expected performance should trigger additional investigation and corrective action before returning the valve to service.
Conclusion
Replacing the inner trim of a Pneumatic Sleeve Control Valve requires systematic planning, proper safety protocols, and attention to precision during every step of the process. Success depends on understanding trim component relationships, following proven disassembly and assembly procedures, and implementing comprehensive quality assurance measures throughout the replacement activity.
Cooperate with CEPAI Group Co., LTD.
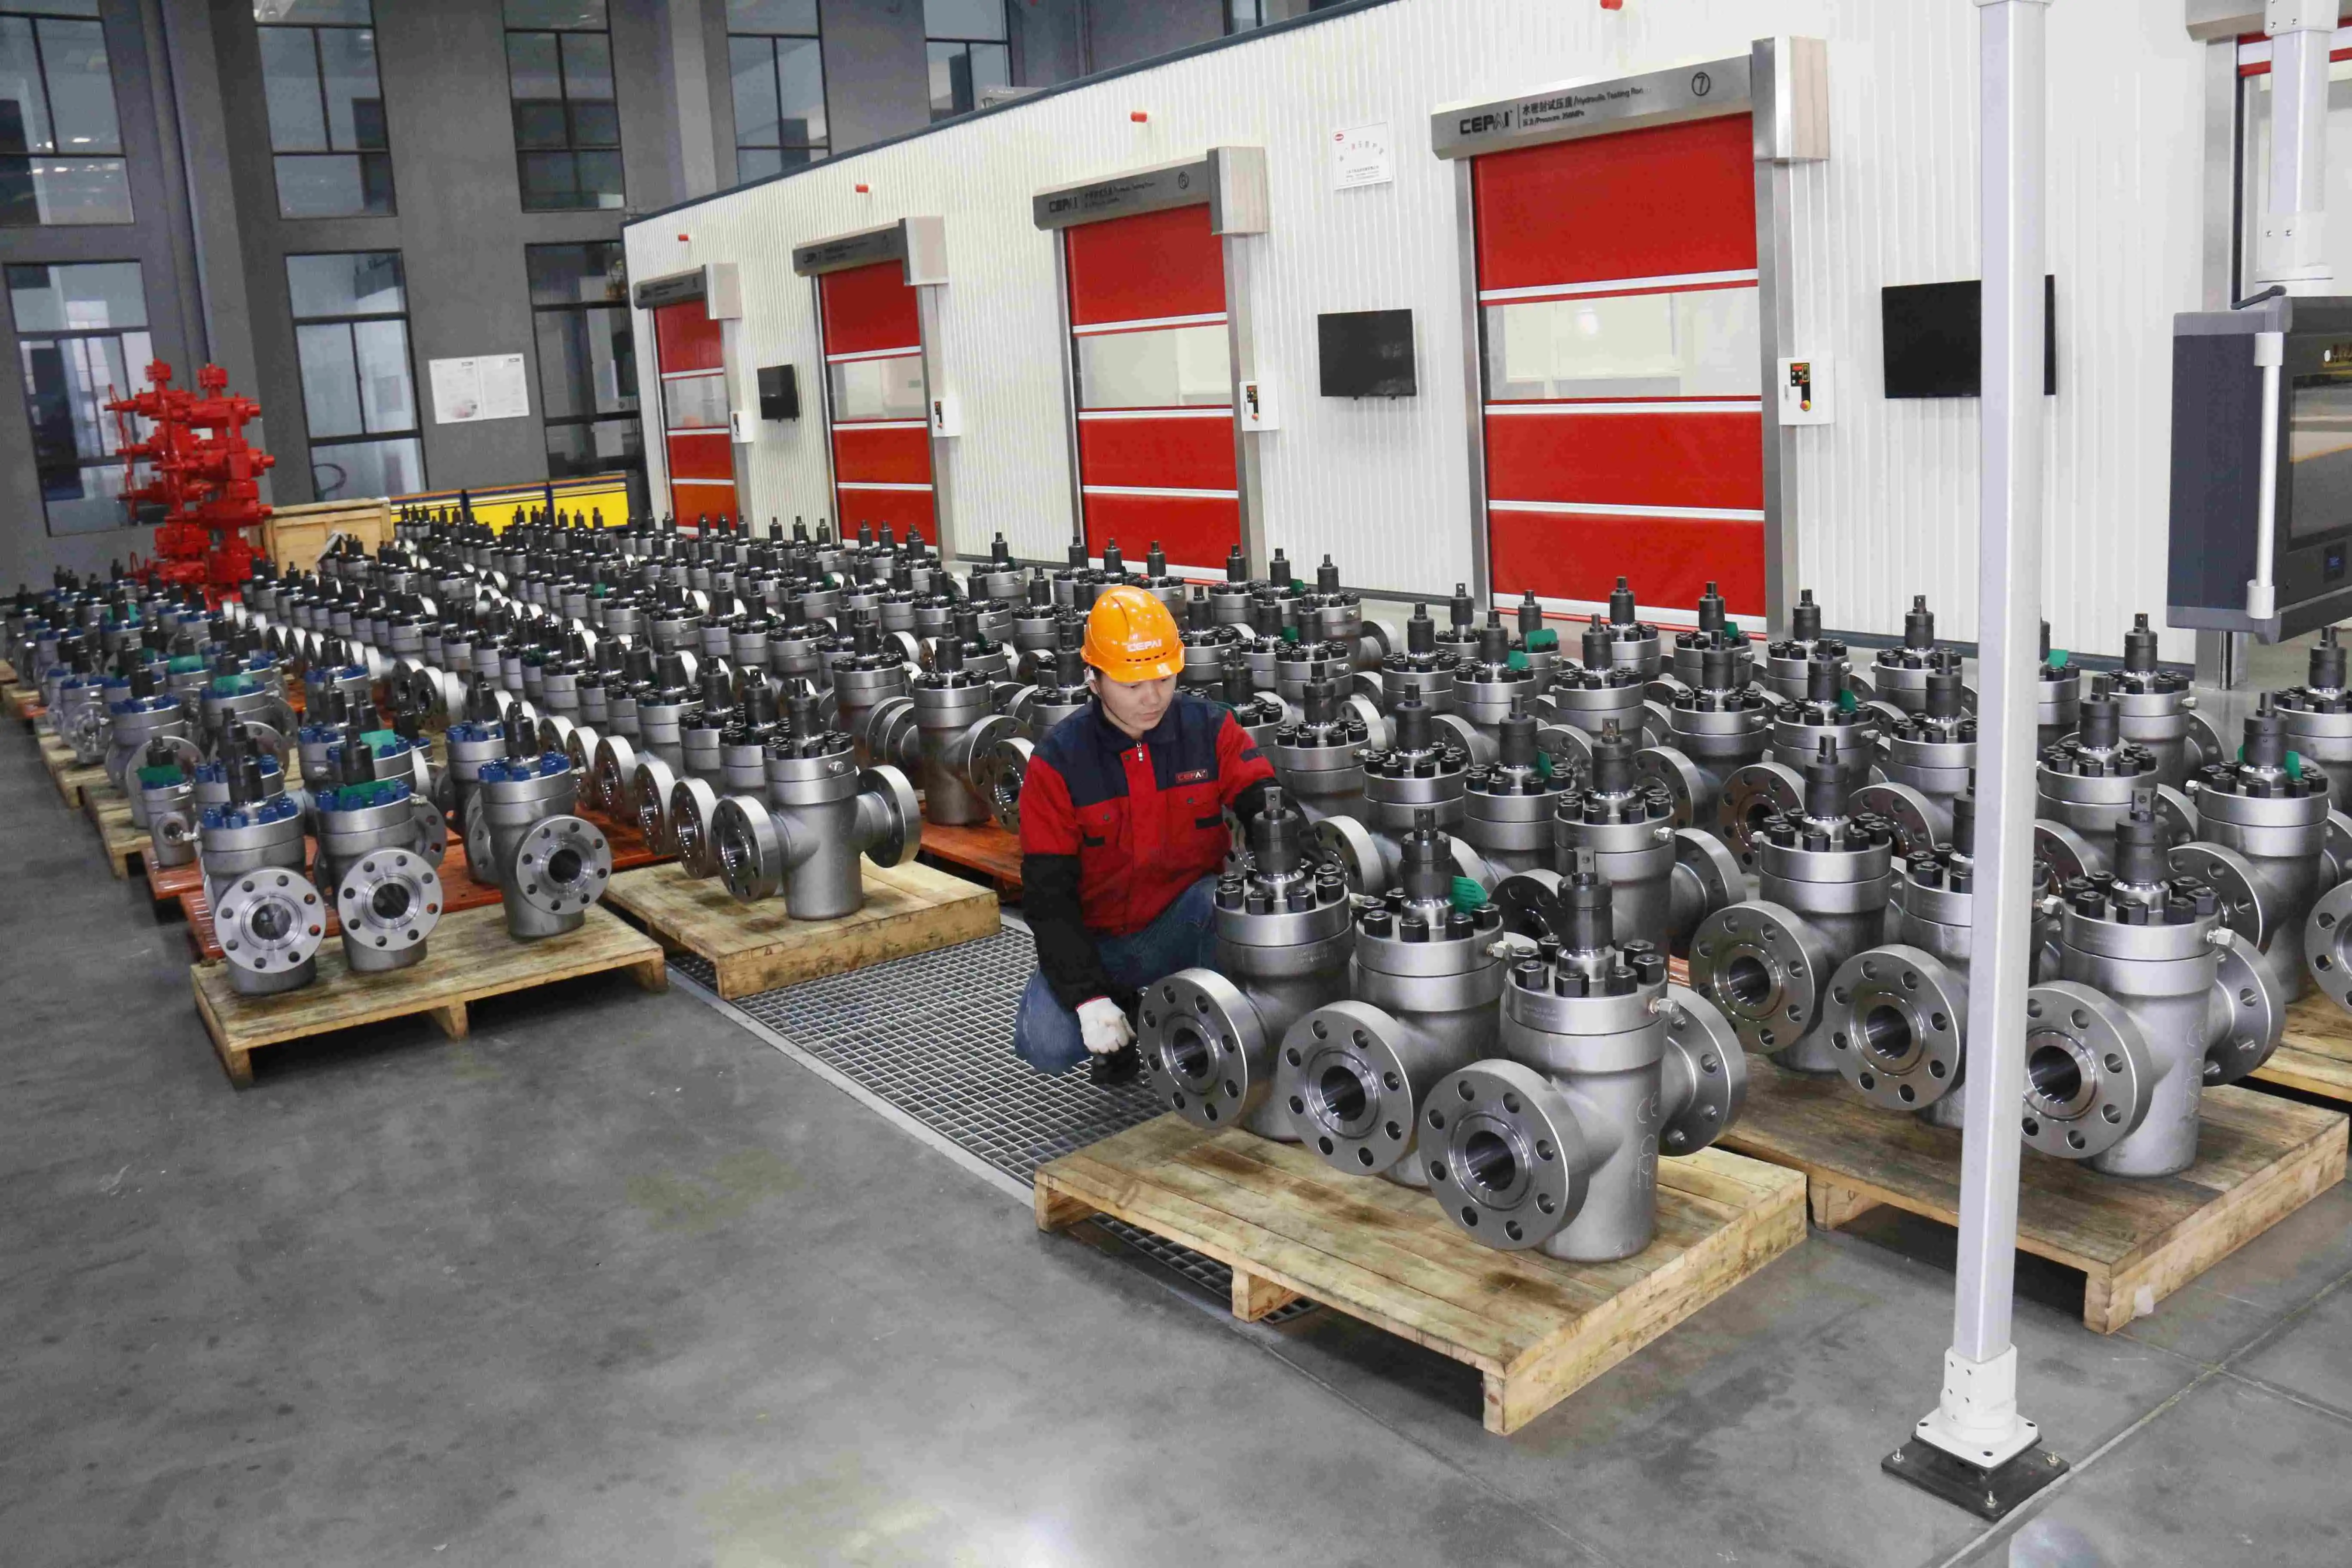
As a leading China Pneumatic Sleeve Control Valve manufacturer established in 2009, CEPAI Group Co., LTD. brings over 15 years of expertise in high-end valve manufacturing to serve your industrial automation needs. Our intelligent manufacturing facility, featuring the longest high-precision production line in the Asia-Pacific region, produces High Quality Pneumatic Sleeve Control Valve solutions certified to international standards including API, ISO, and CE requirements.
CEPAI Group operates as a China Pneumatic Sleeve Control Valve supplier with comprehensive capabilities spanning research, development, manufacturing, and technical support services. Our China Pneumatic Sleeve Control Valve factory incorporates advanced quality management systems ensuring every Pneumatic Sleeve Control Valve for sale meets stringent performance standards. Whether you require standard configurations or custom China Pneumatic Sleeve Control Valve wholesale solutions, our engineering team provides pre-sales consultation, installation support, and lifetime maintenance services.
Contact our experienced technical team at cepai@cepai.com to discuss your specific application requirements and receive competitive Pneumatic Sleeve Control Valve price quotations. Save this guide for future reference as your trusted resource for valve maintenance excellence.
FAQ
Q: How often should I replace the inner trim of my Pneumatic Sleeve Control Valve?
A: Replace trim components annually for critical processes, or every 2-3 years for standard applications, depending on operating conditions and process requirements.
Q: Can I replace only specific trim components instead of the complete assembly?
A: Yes, individual components like valve plugs, seats, or packing can be replaced separately if other trim components remain within acceptable condition limits.
Q: What are the most common signs that trim replacement is needed?
A: Excessive leakage, poor control performance, increased actuator air consumption, and visible wear or damage during routine inspections indicate trim replacement needs.
Q: Do I need special tools for Pneumatic Sleeve Control Valve trim replacement?
A: Standard mechanical tools suffice for most replacements, though specialized pullers and lifting equipment may be required for larger valves or tight-fitting components.
References
1. "Control Valve Handbook" by Emerson Process Management, Fourth Edition, covering comprehensive valve maintenance procedures and trim replacement guidelines.
2. "Valve Selection and Service Guide" by Peter Smith and Robert Zappe, detailing pneumatic control valve trim components and replacement procedures.
3. "Industrial Valve Technology" by L.P. Warring and Associates, providing detailed guidance on valve trim materials, selection, and maintenance practices.
4. "Process Control Instrumentation Technology" by Curtis Johnson, Chapter 12: Control Valves, covering trim replacement and performance verification procedures.
_1745994790767.webp)
Get professional pre-sales technical consultation and valve selection services, customized solution services.

About CEPAI


